
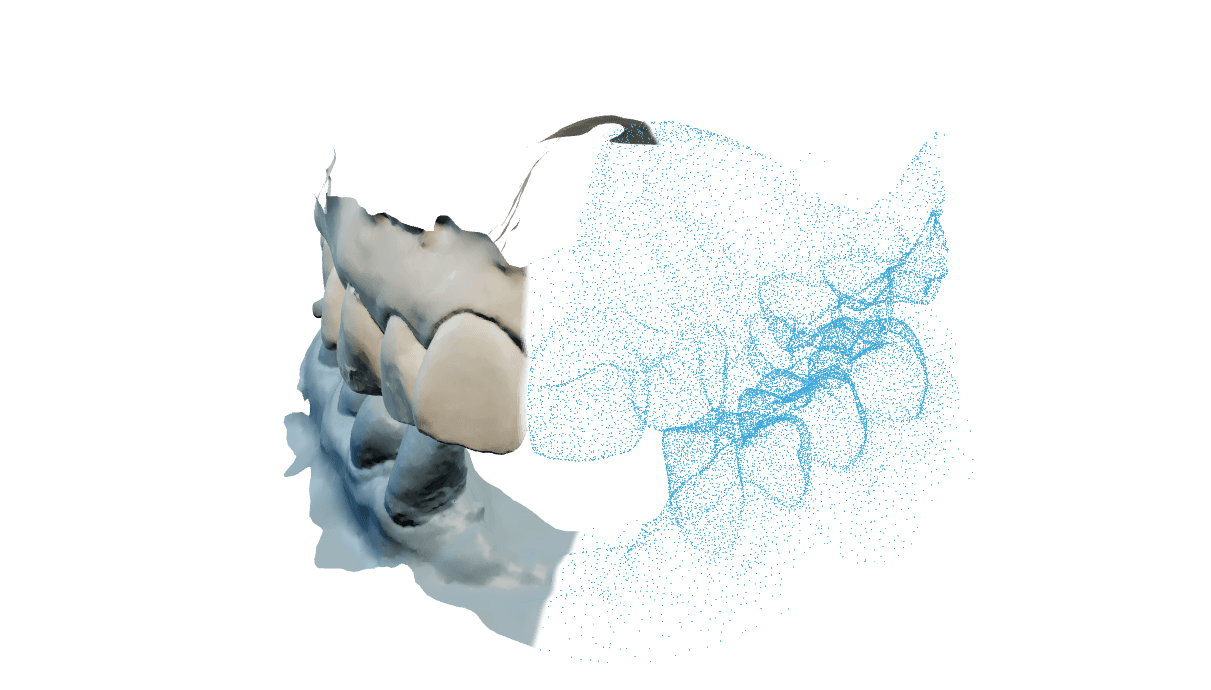
Transformar um par em oclusão em duas arcadas imprimíveis
O Print models gera um arquivo de modelo superior e um inferior, mais um registro que documenta exatamente como foram construídos. Você pode anexar ao pedido um par sem processamento ou reaproveitar a arcada inferior alinhada de um caso de alinhamento do mesmo prontuário, o que evita repetir o alinhamento.
O pedido é salvo antes de os envios começarem, então um envio interrompido ou uma aba fechada deixam um caso real que você pode reabrir. Nada é calculado antes de você iniciar a construção, e uma construção que não passa na verificação de segurança é informada a você em vez de ser entregue.
Gerar um pacote de modelos em três etapas
Escolha a construção
Estudo sólido é um corpo de resina cheio. Oco econômico é uma cavidade aberta com parede de 2,2 mm e drenos automáticos. Econômico com colmeia é o mesmo oco com um padrão interno de nervuras para uma base mais leve. Se você não mudar nada, recebe Estudo sólido com base de 6 mm, sem drenos, sem acessórios e sem gravação.
Adicione conexões e uma etiqueta
Os conectores snap e o tripé de três pernas são independentes, então você pode usar um, os dois ou nenhum. O campo de gravação aceita até 40 caracteres e não deve levar nome de paciente. As configurações avançadas contêm a altura da base, a posição da mordida e, em um modelo oco, a parede e os respiros.
Revise e construa
A última etapa lista a receita que será executada. Construir consome 1 crédito para o caso; as variantes seguintes do mesmo caso são gratuitas, até 20 por caso, então você pode comparar um modelo sólido e um oco das mesmas arcadas.
Ajustar os números com suas faixas à vista
| Configuração | Faixa e valor por omissão |
|---|---|
| Altura da base | De 2 a 15 mm. Os botões oferecem 3, 5 e 7 mm, e a construção padrão começa em 6 mm. |
| Espessura de parede, só no oco | De 2 a 2,5 mm. Fina é 2 mm e Padrão é 2,2 mm, que vale se você não mudar. |
| Drenos, só no oco | Desligados até você ligar. O diâmetro é 2,5, 3 ou 4 mm, com 3 mm por omissão. Respiros laterais exigem base de pelo menos 3 mm para caber, e a quantidade é planejada para você. |
| Gravação | Até 40 caracteres, em baixo relevo até você mudar para alto relevo. Tamanho 2, 2,4, 2,8 ou 3,2 mm, com 2,4 mm por omissão. Use a sua referência de laboratório, nunca o nome de um paciente. |
| Apoios do tripé | Três pernas com chaveta em pinos de 4 mm, posicionadas automaticamente. Não existe posicionamento manual, e o pacote sai sem apoios se não houver uma região livre de dentes em ambas as arcadas. |
| Posição da mordida | Oclusão corrigida até você escolher Como escaneado. Corrigida é o valor por omissão e é o que mantém os modelos na oclusão que o caso resolveu. |
Respostas antes de construir
Não. Um par superior e inferior sem processamento é uma origem válida. Se o alinhamento já está concluído neste caso, a construção pode usar a arcada inferior alinhada dele.
Um arquivo de modelo superior, um inferior e um registro com a receita. Leve as arcadas separadamente ou o pacote inteiro em um arquivo compactado.
Sim. A primeira construção consome o crédito do caso e as variantes seguintes são gratuitas, até 20 por caso.
A forma de base que você escolhe é registrada, mas o motor atual exporta uma base de impressão plana. A altura de base que você define é aplicada. Se uma base em ferradura importa para o seu fluxo, avise que priorizamos.
Abra o mesmo pedido de novo e anexe o item que falta. O pedido e os arquivos que chegaram continuam no lugar.
Por favor, não. O campo é para a sua referência de laboratório, e identificadores de pacientes não devem estar em nada que guardamos.
Sim. Avisos e substituições automáticas são informados no caso em vez de escondidos, e um modelo impresso é um objeto físico: confirme que base, apoios e parede são o que o seu fluxo espera antes de qualquer uso clínico.
Resolver uma construção que volta com aviso
A parede pedida não cabia em todo o escaneamento. O motor a afinou para a cavidade continuar drenando, em vez de entregar um modelo que retém resina.
Aceite se o modelo serve assim, ou reconstrua com parede mais fina ou com a construção sólida. Se repetir em escaneamentos que você considera bons, envie o número do caso.
A parede pedida é mais grossa do que permite o ponto mais fino do escaneamento, então a construção foi recusada em vez de deformada.
Mude a espessura de parede ou passe para a construção sólida antes de reconstruir. Uma segunda tentativa sem alteração é recusada do mesmo jeito.
Parte da casca ficou abaixo do mínimo seguro, o que imprime como parede frágil ou rompida.
Aumente a espessura de parede e reconstrua, ou use a construção sólida nesse caso. Se a mesma arcada é marcada sempre, envie o número do caso.
O padrão de nervuras não passou em uma verificação de imprimibilidade neste escaneamento, normalmente por risco de resina retida, então a versão mais segura foi construída e informada.
Imprima como está construído, ou escolha a construção de propósito. Nada da substituição é escondido de você.
Não havia região livre de dentes em ambas as arcadas, então não havia lugar seguro para assentar os apoios.
O pacote sai sem apoios. Se você precisa deles, escaneie de novo incluindo um pouco mais do rebordo. Se não for possível, trabalhe sem apoios e registre a oclusão de outra forma.
O modelo finalizado não passou em uma verificação de estanqueidade, então nada deformado foi entregue. Normalmente a malha de entrada tem buracos ou autointerseções que não puderam ser reparados.
Reconstrua com a construção sólida, que tolera mais problemas de entrada. Se o mesmo escaneamento continuar falhando, exporte-o novamente do escâner e envie o número do caso se isso não resolver.