
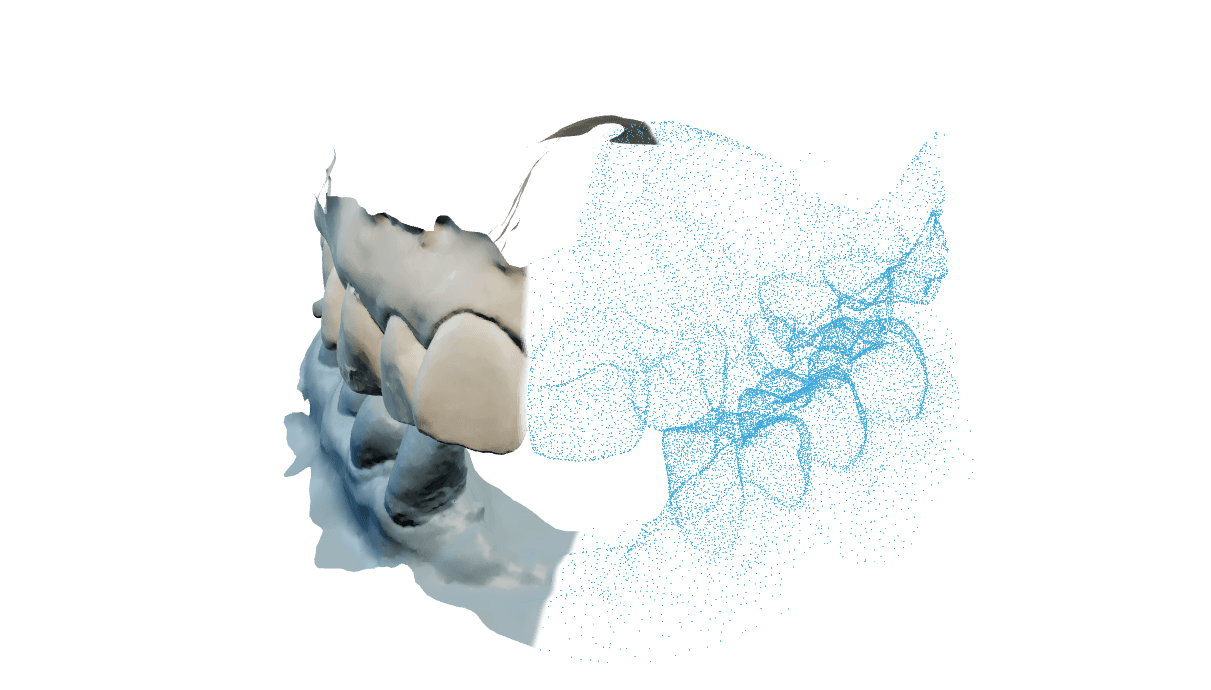
Ordinare una corona come prescrizione e progettarla nel browser
Un caso di corona inizia come prescrizione, non come caricamento. Registra i denti da restaurare, assegna a ciascuno un materiale e crea il caso senza alcun file. Le arcate arrivano dopo, come primo passaggio del banco di lavoro, che è la stessa separazione che un laboratorio fa tra il libro degli ordini e l'applicazione CAD.
Da lì è un progettista di corone che gira sulla sua macchina: la geometria è calcolata nel suo browser, mentre il caso, il progetto e il credito vivono sui nostri server. Per questo la progettazione risponde subito e per questo una postazione più potente sembra più veloce.
I valori dei materiali forniti con il modulo sono valori tecnici generici, non istruzioni del produttore. Li confronti con le indicazioni del materiale che frese o stampa davvero, e verifichi il restauro finito prima dell'uso clinico.
Progettare un caso dalla prescrizione all'esportazione
Scriva la prescrizione
Registri ogni dente e scelga il materiale. Il materiale è obbligatorio e non c'è un valore predefinito. Linea di finitura, appoggio e profilo di emergenza stanno dietro un pannello richiudibile e sono già impostati: se non cambia nulla ottiene appoggio Standard, linea di finitura non definita e profilo di emergenza standard. Un ordine porta fino a 32 denti registrati, e un dente nuovo parte dalle impostazioni del precedente. Gli elementi solidarizzati, cioè i ponti, oggi non sono ordinabili.
Alleghi le arcate nel passaggio Scans
Il banco di lavoro si apre con due posizioni di arcata. L'arcata con i denti registrati è obbligatoria. L'antagonista è facoltativa per progettare e può essere aggiunta a metà percorso senza perdere lavoro, ma è obbligatoria per esportare, perché l'occlusione deve essere misurata contro una scansione antagonista.
Orienti la scena
Definisca dove guarda la superficie occlusale. Tutti i passaggi successivi leggono quell'orientamento, quindi su una scansione arrivata storta vale un secondo controllo.
Posizioni il margine
Metta la linea di finitura (il margine, la curva dove la corona incontra la preparazione) sul moncone. Il rilevamento segue lo spigolo più marcato che trova e lei corregge punto per punto. Tutto ciò che viene dopo è costruito su quella curva.
Fissi l'asse di inserimento
La direzione di inserimento decide la superficie di adattamento. Viene risolta per lei e può ridefinirla dalla vista attuale della telecamera quando l'asse calcolato non è quello che vuole.
Costruisca il fondo della corona
Questo passaggio modella la superficie di adattamento (l'intradosso, la faccia interna che appoggia sul moncone) e riempie i sottosquadri lungo la direzione di inserimento. Lo spessore per cemento va da 0 a 1 mm con passi di 0,01 mm e parte dal valore proprio del materiale. La sigillatura al margine va da 0 a 1 mm da 0 mm, la fascia di sigillatura da 0 a 3 mm da 0,5 mm, la rampa dello spessore da 0,05 a 3 mm da 0,5 mm, il riempimento da 0 a 2 mm da 1 mm e l'angolo di sformo da 0 a 10 gradi da 0.
Appoggi il dente di libreria
Posizioni un dente di libreria sulla preparazione, lo collochi e lo faccia aderire alla linea di finitura, così la superficie esterna incontra il margine che ha disegnato.
Modelli la corona
Regoli a mano l'anatomia esterna dove preferisce. La dimensione del pennello va da 0,2 a 5 mm e parte da 1,2 mm; la forza del pennello va da 0,02 a 1 mm e parte da 0,18 mm. Questo passaggio misura anche la parete e può ispessire sul posto una zona troppo sottile.
Controlli contatti e occlusione
La vista dei contatti colora la distanza misurata in millimetri tra la corona e il dente antagonista, con la penetrazione all'estremo caricato. La sua scala di colore è un intervallo di visualizzazione da 0,05 a 2 mm e sta a 0,5 mm se non lo cambia, quindi allargarlo appiattisce i colori e restringerlo li esagera. È una scala di distanza, mai una lettura di forza.
Superi i controlli, poi esporti
L'ultimo passaggio misura la parete più sottile, lo spazio occlusale e i contatti funzionali, e chiude la superficie esterna e quella di adattamento in un solo solido. L'esportazione scrive il file e consuma 1 credito in quel momento; riesportare lo stesso caso è gratis.
Conoscere le richieste di ogni materiale
| Materiale | Spessore minimo e spessore per cemento |
|---|---|
| Zirconia | Almeno 1 mm in occlusale, 0,8 mm in assiale e 0,5 mm al margine. Lo spessore per cemento parte da 0,05 mm. |
| Disilicato di litio | Almeno 1,5 mm in occlusale, 1 mm in assiale e 0,8 mm al margine. Lo spessore per cemento parte da 0,06 mm. |
| Resina provvisoria | Almeno 1 mm in occlusale, 0,8 mm in assiale e 0,6 mm al margine. Lo spessore per cemento parte da 0,08 mm. |
| Scelta dell'appoggio | Passivo porta lo spessore per cemento a 0,08 mm e Stretto a 0,04 mm. Standard, il valore predefinito, lascia il valore proprio del materiale. Nel banco di lavoro può comunque inserire un valore tra 0 e 1 mm. |
| Da dove vengono i numeri | Sono valori tecnici generici, non istruzioni del produttore. Li confermi con le indicazioni del suo materiale prima della produzione clinica. |
Risposte prima di iniziare a progettare
Nessuno per crearlo, perché l'ordine è una prescrizione e non prevede caricamenti. Nel banco di lavoro allega l'arcata con i denti registrati e anche l'arcata antagonista.
Progettare sì, esportare no. Lo spessore di parete e l'occlusione devono essere misurati prima che l'esportazione si sblocchi, e l'occlusione richiede una scansione antagonista. La alleghi in qualsiasi momento, anche a metà percorso; nulla del lavoro svolto va perso.
All'esportazione, una sola volta, sul restauro finito. Creare il caso e progettarlo non costa nulla, e riesportare un caso già esportato è gratis.
Sì. Il progetto viene salvato nel caso mentre lavora e conservato anche in questo browser, quindi riaprire il caso riprende la progettazione invece di ricominciare. Annulla e ripristina sono su Ctrl+Z e Ctrl+Maiusc+Z, o gli equivalenti con Cmd su un Mac.
L'esportazione dipende da misure, non da valutazioni. Tutto ciò che il caso richiede deve essere presente e aggiornato, i controlli devono passare senza errori aperti, e il solido unito deve essere a tenuta, non deve attraversare la superficie di adattamento e deve raggiungere la parete minima del materiale. Il passaggio indica quale ha fallito, e una misura mai eseguita non conta mai come superata.
La geometria è calcolata nel suo browser, mentre il caso, il progetto e il credito vivono sui nostri server.
Oggi no. Un ordine porta corone singole, fino a 32, ciascuna con il proprio materiale. Elementi intermedi e connessioni esistono nel banco di lavoro per i casi che già li contengono, ma non sono ordinabili.
Affrontare una progettazione che resiste
Il rilevamento segue lo spigolo più marcato che trova, quindi una linea di finitura strappata, sfocata o troppo lucidata lo porta in un punto plausibile ma sbagliato.
Trascini i punti di nuovo sulla linea di finitura dove si è allontanata, invece di rilanciare il rilevamento sulla stessa scansione. Se la preparazione non è leggibile nella scansione, riscansioni il moncone. Se persiste, ci invii il numero del caso.
Le due arcate sono disegnate esattamente dove le mettono le scansioni, senza nulla in mezzo che le corregga, quindi una registrazione scadente si vede qui invece di restare nascosta.
Riesporti entrambe le arcate dalla stessa sessione di scansione e le alleghi di nuovo. Una coppia che non ha mai condiviso una registrazione non occluderà nemmeno qui. Se persiste, ci invii il numero del caso.
È stata allegata solo l'arcata della preparazione, quindi non c'è antagonista contro cui progettare e l'occlusione non si può misurare.
Torni al passaggio Scans e alleghi l'arcata antagonista. Farlo a metà percorso è previsto e conserva il lavoro già svolto.
Modificare il margine o l'asse di inserimento invalida di proposito ciò che è stato costruito sopra: l'alternativa sarebbe una corona appoggiata su una curva che si è spostata. Modificare la scansione stessa invalida di più, compresa la prova che le due arcate sono registrate.
Ripeta i passaggi segnalati. Quelli non segnalati restano come erano e nulla viene cancellato. Se un passaggio diventa obsoleto di continuo senza che lei cambi nulla, ci invii il numero del caso.
Uno dei controlli di fabbricabilità è fallito: la superficie esterna e quella di adattamento non si sono chiuse in un solido a tenuta, si intersecano in qualche punto, oppure la parete misurata è sotto il minimo del materiale.
Legga quale controllo è fallito, poi corregga solo quello. Una parete troppo sottile si può ispessire sul posto, mentre un solido non chiuso riporta di solito al margine. Se si ripete su un caso che sembra corretto, ci invii il numero del caso.