
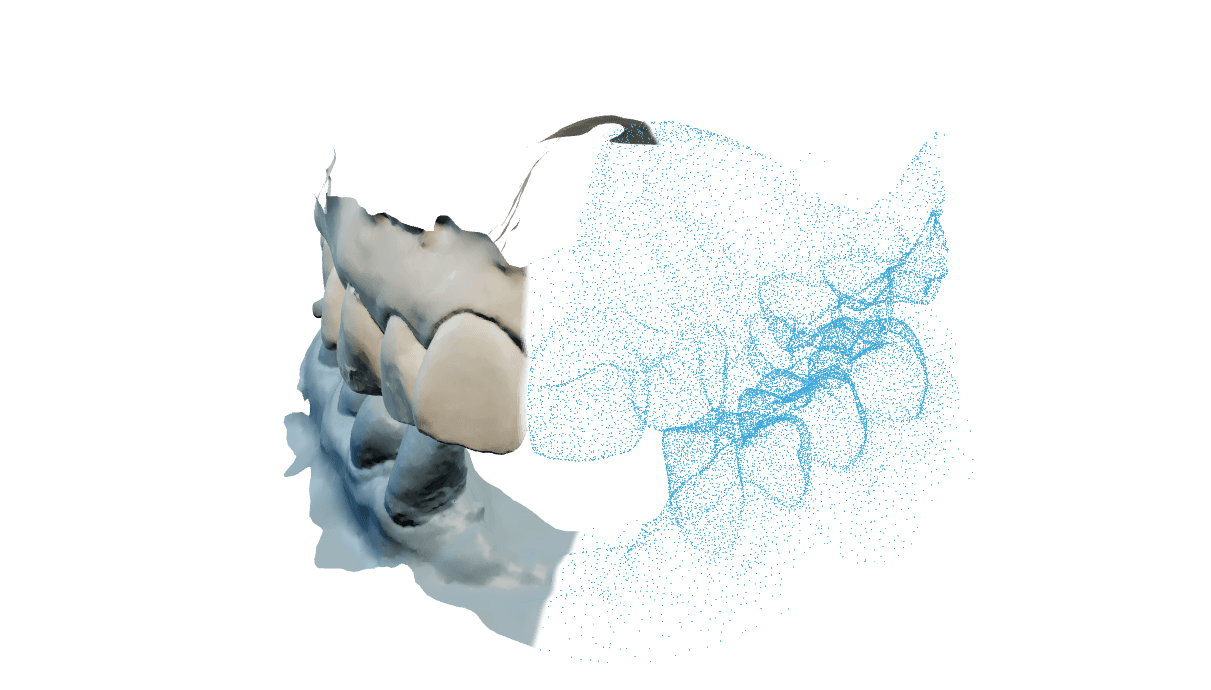
Ein Kieferpaar im Biss in zwei druckbare Modelle verwandeln
Print models erzeugt eine Oberkiefer- und eine Unterkieferdatei plus ein Protokoll, das genau festhält, wie sie aufgebaut wurden. Sie können ein Rohpaar an die Bestellung hängen oder den ausgerichteten Unterkiefer aus einem Ausrichtungsfall derselben Falldatei weiterverwenden, was die Ausrichtung ein zweites Mal erspart.
Die Bestellung wird gespeichert, bevor die Uploads beginnen, sodass eine abgebrochene Übertragung oder ein geschlossener Tab einen echten Fall hinterlässt, den Sie wieder öffnen können. Gerechnet wird erst, wenn Sie den Aufbau starten, und ein Aufbau, der die Sicherheitsprüfung nicht besteht, wird Ihnen gemeldet statt ausgeliefert.
Ein Modellpaket in drei Schritten erzeugen
Aufbau wählen
Solid-Studienmodell ist ein voller Kunststoffkörper. Hohles Sparmodell ist ein offener Hohlraum mit 2,2 mm Wand und automatischen Abflüssen. Waben-Sparmodell ist derselbe Hohlraum mit innerem Rippenmuster für eine leichtere Basis. Ändern Sie nichts, erhalten Sie das Solid-Studienmodell mit 6 mm Basis, ohne Abflüsse, ohne Verbinder und ohne Gravur.
Verbinder und Beschriftung ergänzen
Snap-Verbinder und ein dreibeiniger Tripod sind unabhängig, Sie können also einen, beide oder keinen nutzen. Das Gravurfeld nimmt bis zu 40 Zeichen und darf keinen Patientennamen tragen. Unter den erweiterten Einstellungen liegen Basishöhe, Bisslage und, bei einem hohlen Modell, Wand und Entlüftungen.
Prüfen, dann erstellen
Der letzte Schritt listet das Rezept, das ausgeführt wird. Der Aufbau kostet 1 Credit für den Fall; weitere Varianten desselben Falls sind kostenlos, bis zu 20 pro Fall, Sie können also ein volles und ein hohles Modell derselben Kiefer vergleichen.
Die Zahlen mit ihren Bereichen im Blick einstellen
| Einstellung | Bereich und Vorbelegung |
|---|---|
| Basishöhe | 2 bis 15 mm. Die Chips bieten 3, 5 und 7 mm, und der Standardaufbau startet bei 6 mm. |
| Wandstärke, nur hohl | 2 bis 2,5 mm. Dünn ist 2 mm und Standard ist 2,2 mm, was ohne Änderung gilt. |
| Abflüsse, nur hohl | Aus, solange Sie sie nicht einschalten. Die Lochgröße ist 2,5, 3 oder 4 mm, vorbelegt mit 3 mm. Seitliche Entlüftungen brauchen mindestens 3 mm Basis, und die Anzahl wird für Sie geplant. |
| Gravur | Bis zu 40 Zeichen, vertieft, solange Sie nicht auf erhaben umstellen. Größe 2, 2,4, 2,8 oder 3,2 mm, vorbelegt mit 2,4 mm. Nutzen Sie Ihre eigene Laborreferenz, niemals einen Patientennamen. |
| Tripod-Stopps | Drei verschlüsselte Beine auf 4-mm-Pfosten, automatisch platziert. Eine manuelle Platzierung gibt es nicht, und das Paket kommt ohne Stopps, wenn auf beiden Kiefern kein zahnfreier Bereich frei ist. |
| Bisslage | Korrigierte Okklusion, solange Sie nicht Wie gescannt wählen. Korrigiert ist die Vorbelegung und hält die Modelle in dem Biss, den der Fall gelöst hat. |
Antworten, bevor Sie erstellen
Nein. Ein rohes Ober- und Unterkieferpaar ist eine gültige Quelle. Ist die Ausrichtung in diesem Fall bereits fertig, kann der Aufbau stattdessen den ausgerichteten Unterkiefer nutzen.
Eine Oberkieferdatei, eine Unterkieferdatei und ein Protokoll, das das Rezept festhält. Nehmen Sie die Kiefer einzeln oder das gesamte Paket als ein Archiv.
Ja. Der erste Aufbau verbraucht den Credit des Falls, weitere Varianten sind kostenlos, bis zu 20 pro Fall.
Die gewählte Basisform wird im Protokoll festgehalten, die aktuelle Engine exportiert aber eine flache Druckbasis. Die eingestellte Basishöhe wird angewandt. Ist eine Hufeisenbasis für Ihren Ablauf wichtig, sagen Sie es uns, dann priorisieren wir sie.
Öffnen Sie dieselbe Bestellung erneut und hängen Sie die fehlende Eingabe an. Die Bestellung und die angekommenen Dateien bleiben erhalten.
Bitte nicht. Das Feld ist für Ihre eigene Laborreferenz, und Patientendaten gehören in nichts, was wir speichern.
Ja. Warnungen und automatische Ersetzungen werden am Fall gemeldet statt verborgen, und ein gedrucktes Modell ist ein physisches Objekt: prüfen Sie Basis, Stopps und Wand vor dem klinischen Einsatz darauf, ob sie Ihrem Ablauf entsprechen.
Einen Aufbau abarbeiten, der mit Hinweis zurückkommt
Die gewünschte Wand passte nicht überall in den Scan. Die Engine hat sie verdünnt, damit der Hohlraum weiter abfließt, statt ein Modell auszuliefern, das Harz einschließt.
Nehmen Sie es an, wenn das Modell so brauchbar ist, oder bauen Sie mit dünnerer Wand oder als volles Modell neu auf. Wiederholt es sich bei Scans, die Sie für einwandfrei halten, senden Sie uns die Fallnummer.
Die gewünschte Wand ist dicker, als es die dünnste Stelle des Scans erlaubt, deshalb wurde der Aufbau abgelehnt statt verzerrt.
Ändern Sie die Wandstärke oder wechseln Sie zum vollen Modell, bevor Sie erneut aufbauen. Ein unveränderter zweiter Versuch wird genauso abgelehnt.
Ein Teil der Schale liegt unter dem sicheren Minimum, was als brüchige oder gebrochene Wand druckt.
Erhöhen Sie die Wandstärke und bauen Sie erneut auf, oder nutzen Sie für diesen Fall das volle Modell. Markiert derselbe Kiefer immer wieder, senden Sie uns die Fallnummer.
Das Rippenmuster hat bei diesem Scan eine Druckbarkeitsprüfung nicht bestanden, meist wegen der Gefahr eingeschlossenen Harzes, deshalb wurde die sicherere Bauweise erzeugt und gemeldet.
Drucken Sie es wie gebaut, oder wählen Sie die Bauweise bewusst. An der Ersetzung ist nichts vor Ihnen verborgen.
Auf beiden Kiefern war kein zahnfreier Bereich frei, es gab also keine sichere Auflage für die Stopps.
Das Paket kommt ohne Stopps. Brauchen Sie sie, scannen Sie mit etwas mehr Kieferkamm neu. Ist das nicht möglich, arbeiten Sie ohne Stopps und halten Sie den Biss anderweitig fest.
Das fertige Modell hat eine Dichtheitsprüfung nicht bestanden, deshalb wurde nichts Verzerrtes ausgeliefert. Meist hat das Eingangs-Mesh Löcher oder Selbstdurchdringungen, die nicht reparierbar waren.
Bauen Sie als volles Modell neu auf, das die meisten Eingangsprobleme verträgt. Scheitert derselbe Scan weiter, exportieren Sie ihn neu aus dem Scanner und senden Sie uns die Fallnummer, wenn das nicht hilft.