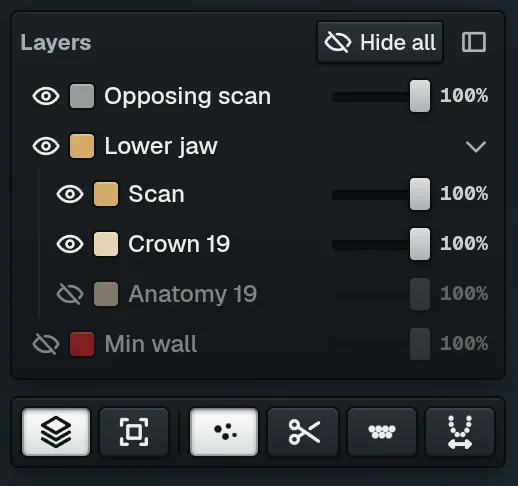
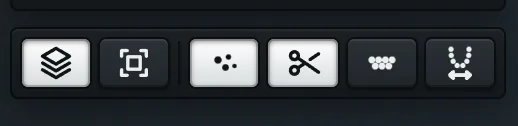
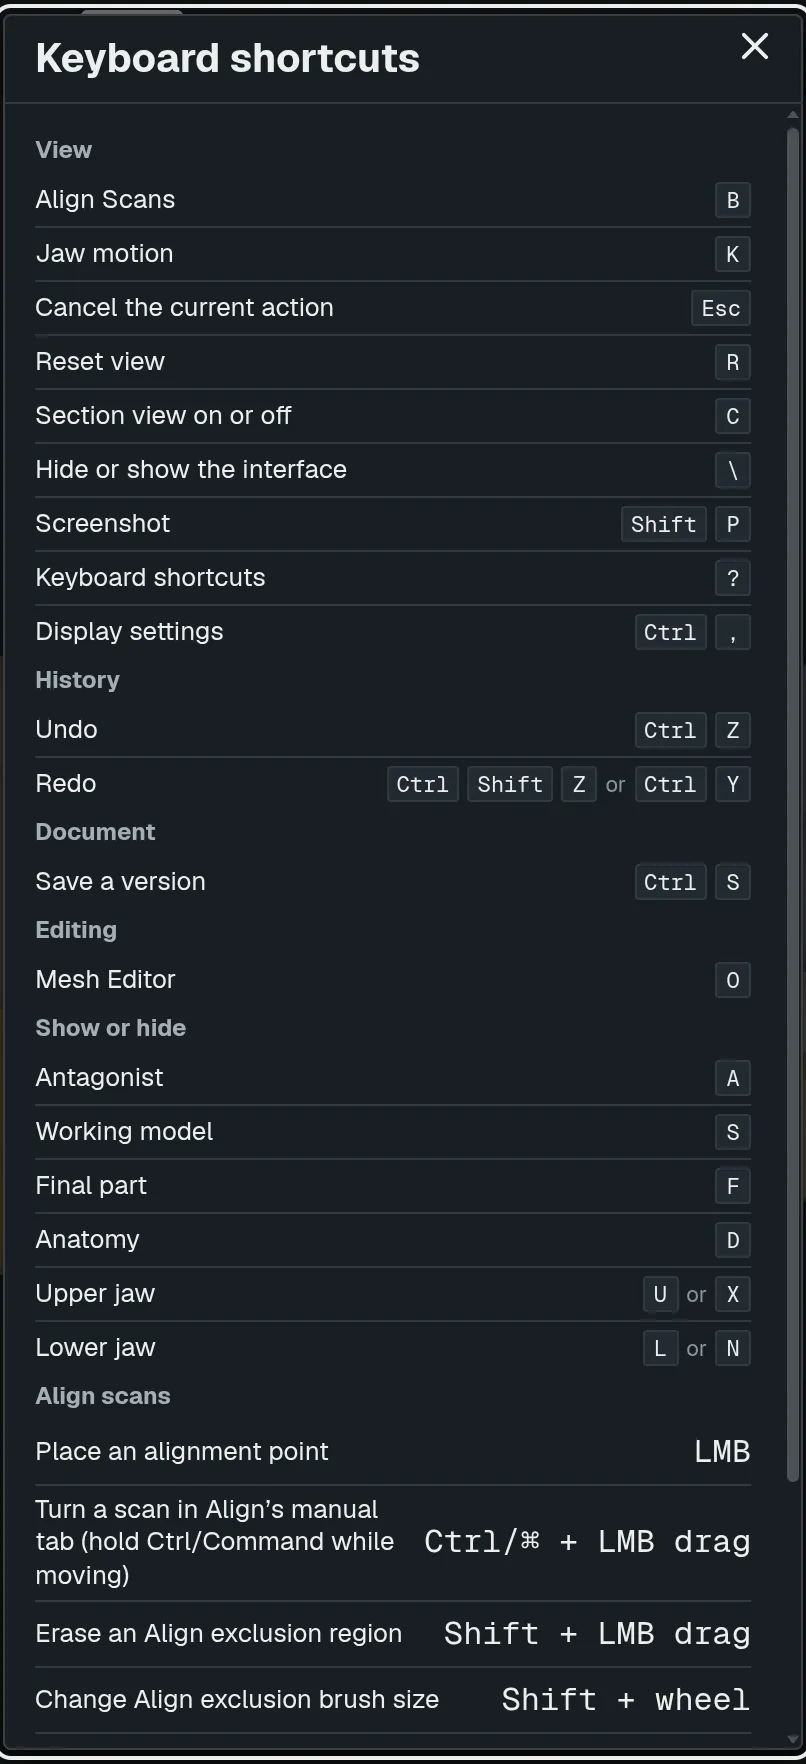
Crown design
From two scans to a crown ready for milling: every tool, with a picture of each screen.
Your first crown, start to finish
Watch every step, from uploading scans to exporting your crown.
Start a case
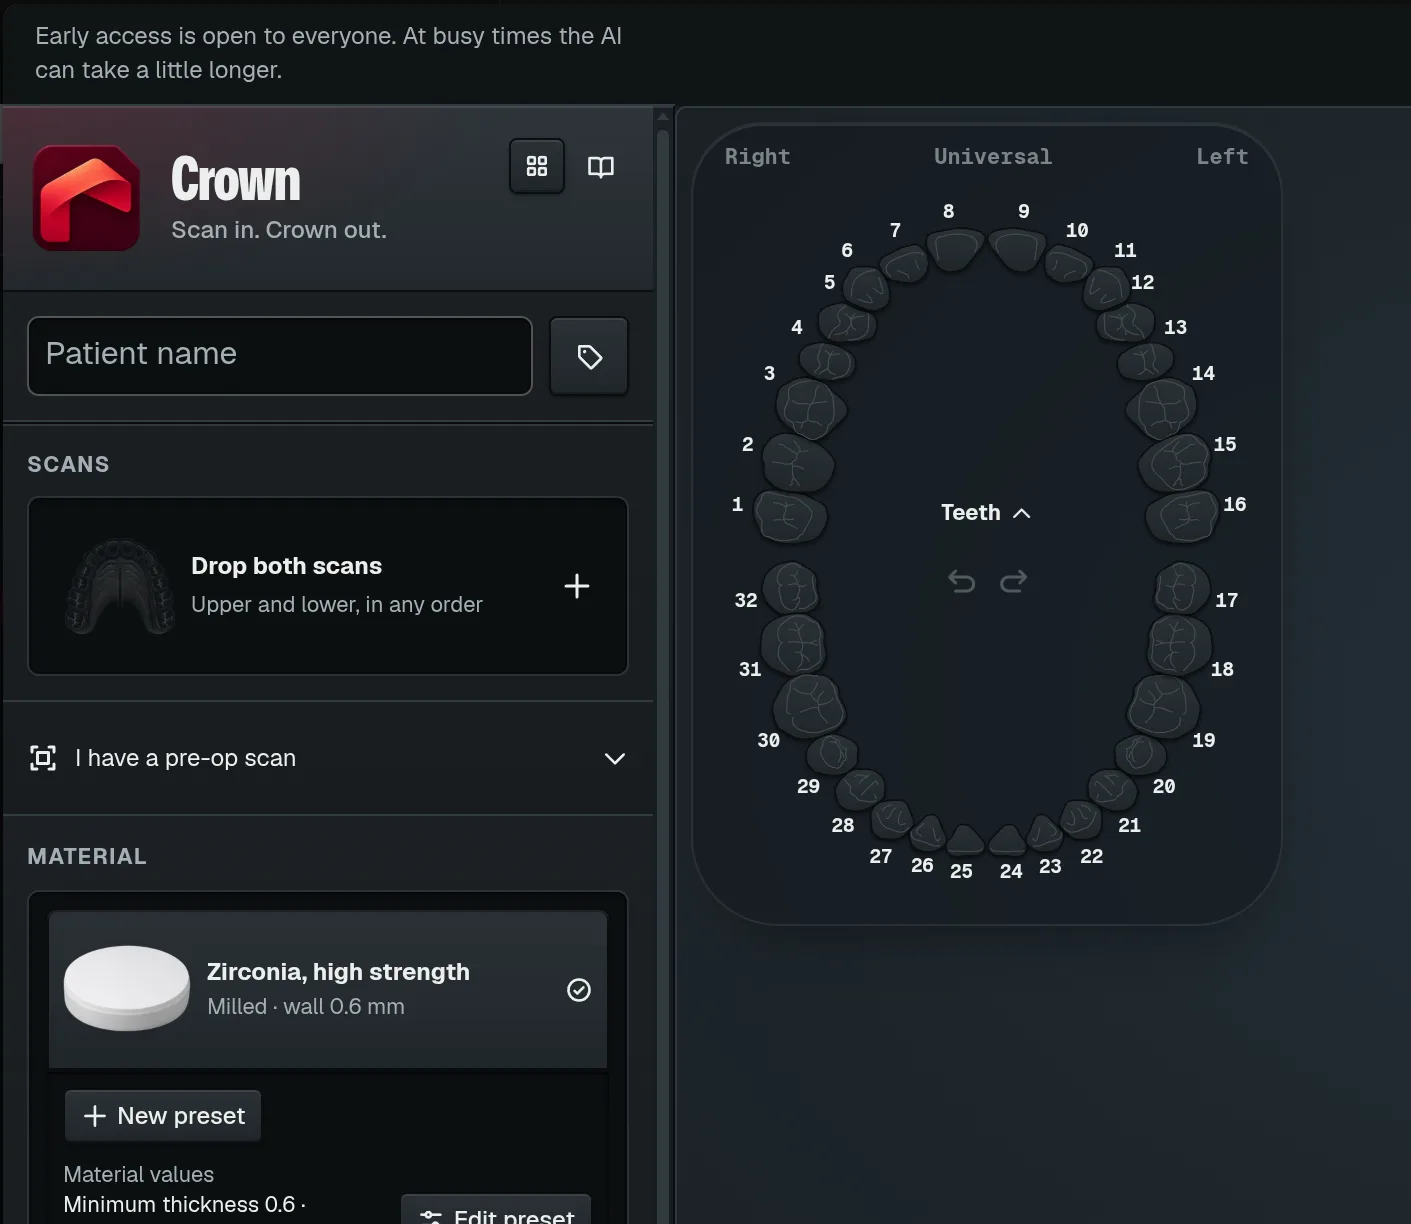
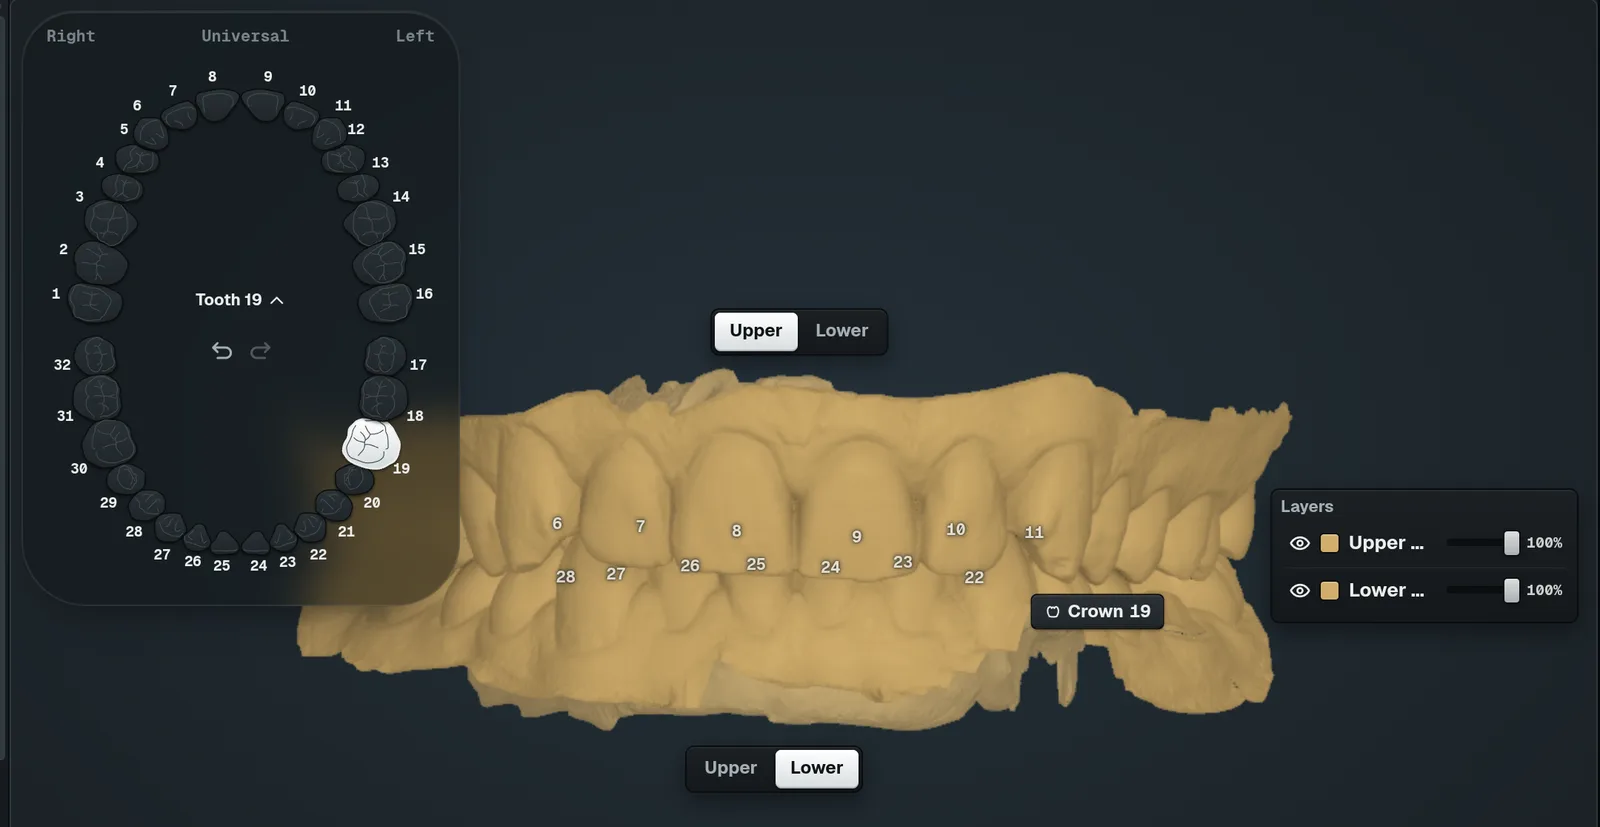
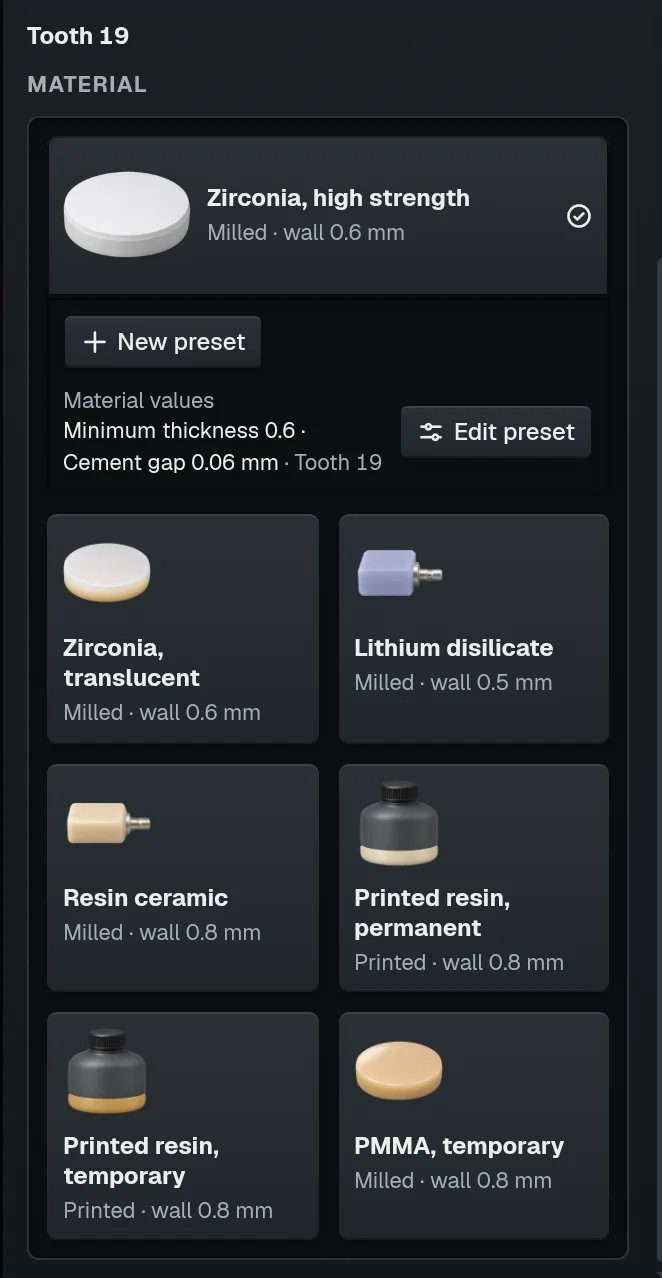
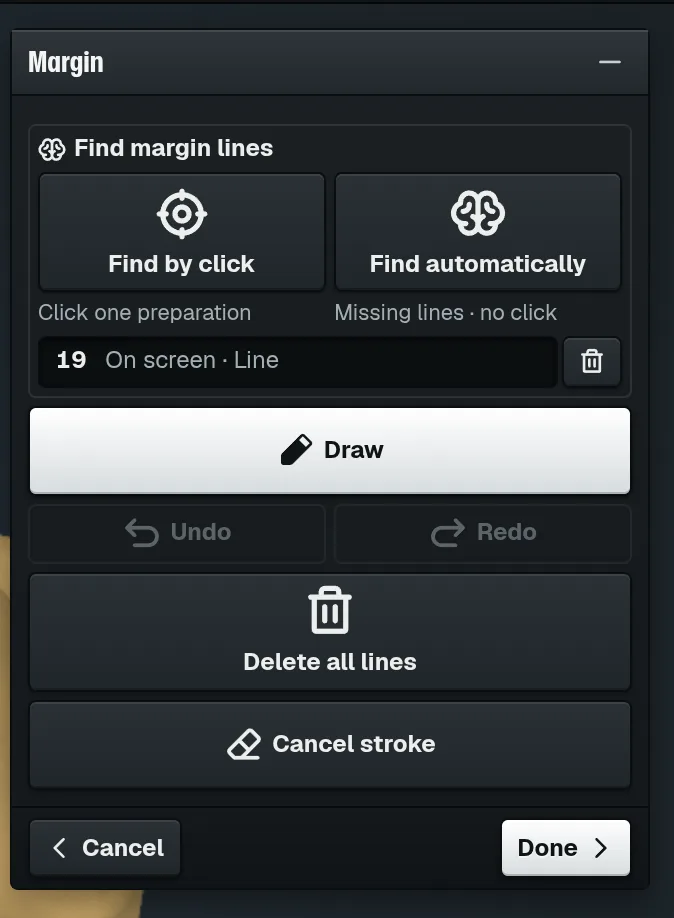
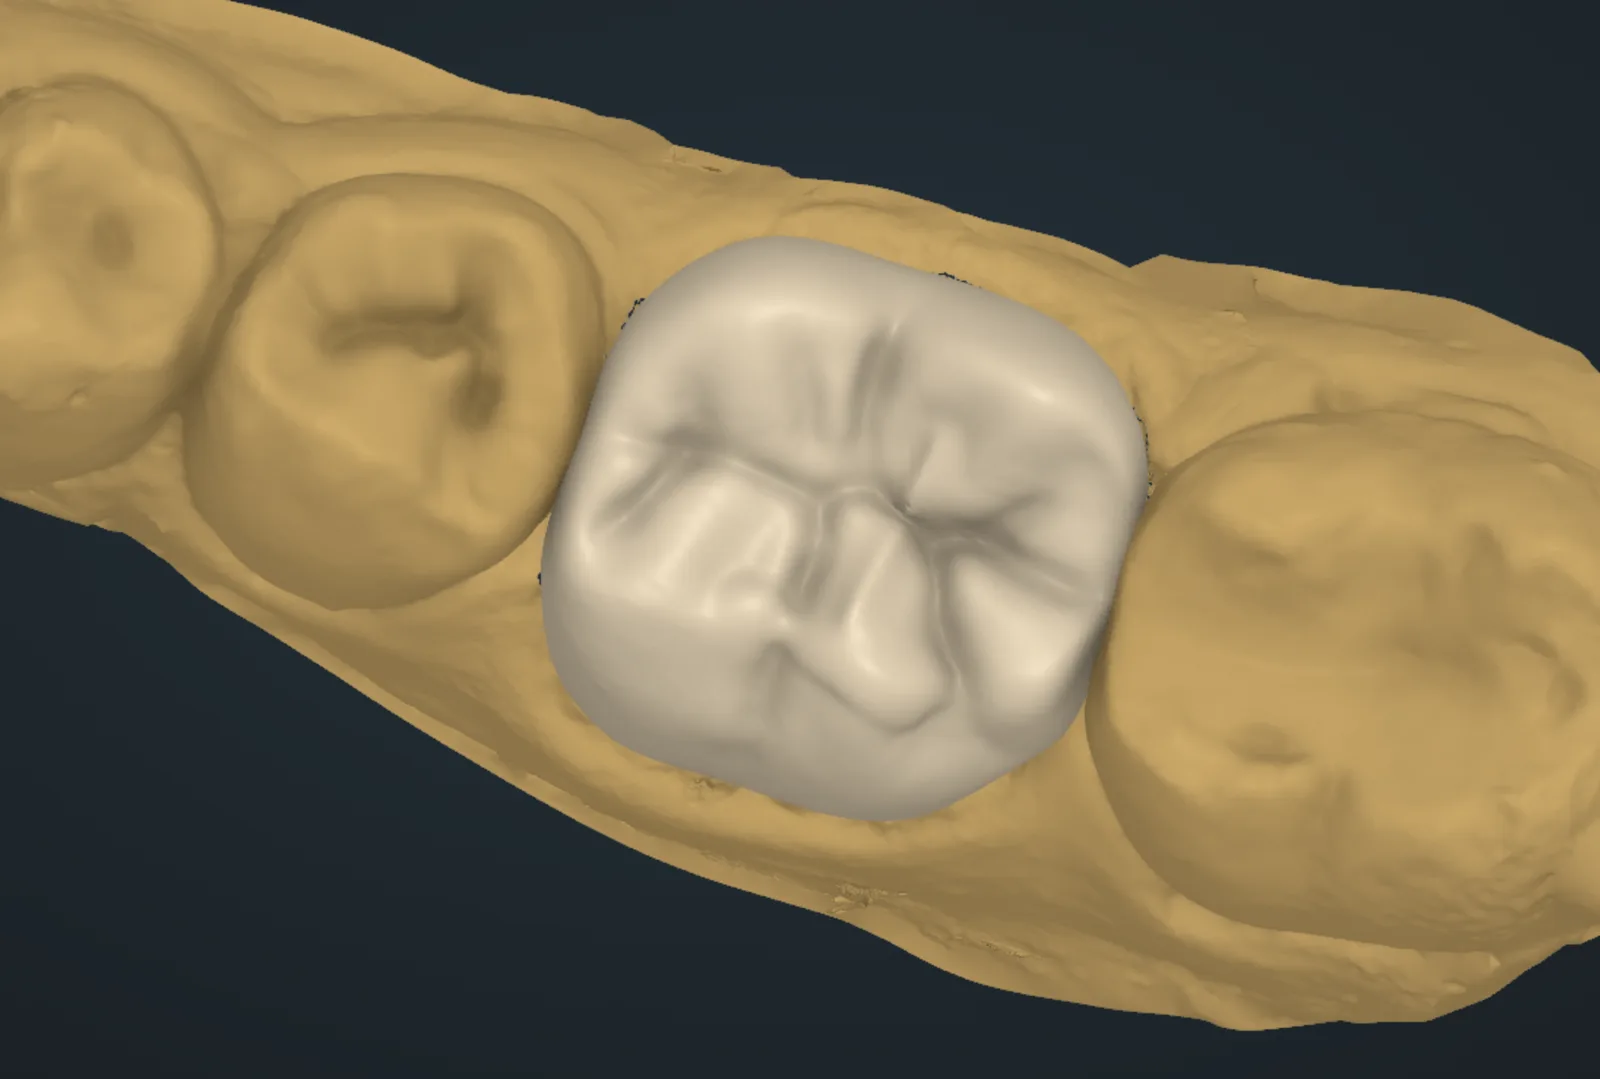
Margin line
Check the margin line
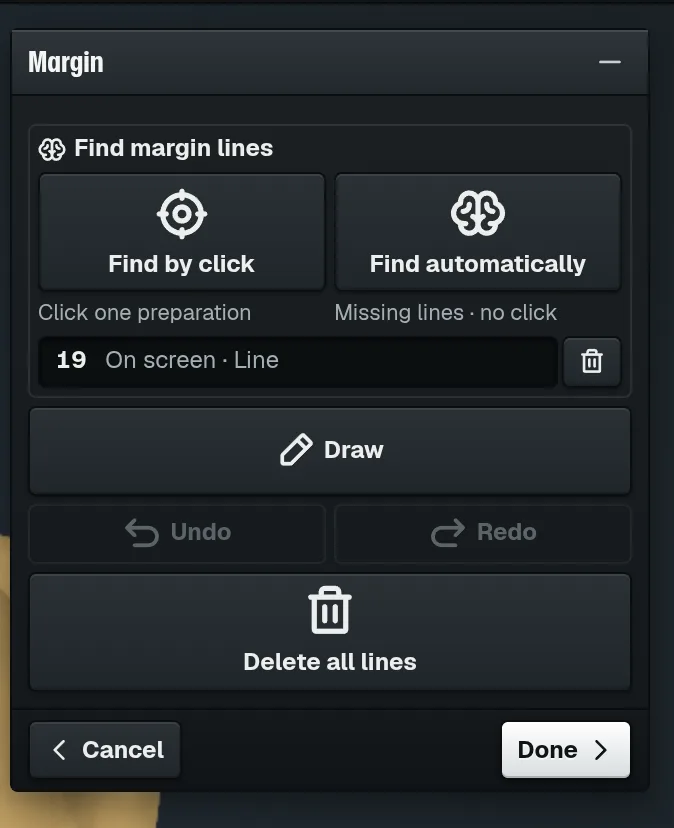
The line is found when the case opens. Check it all the way round.Fix part of the line
Draw over the wrong part. The new part joins the line, the crown refits on Done.Find a missing line
No line on the tooth? One click on the tooth, or one press for every missing line.Check several margins at once
A case with two or more prepared teeth stops once on Check the margins before the crowns.
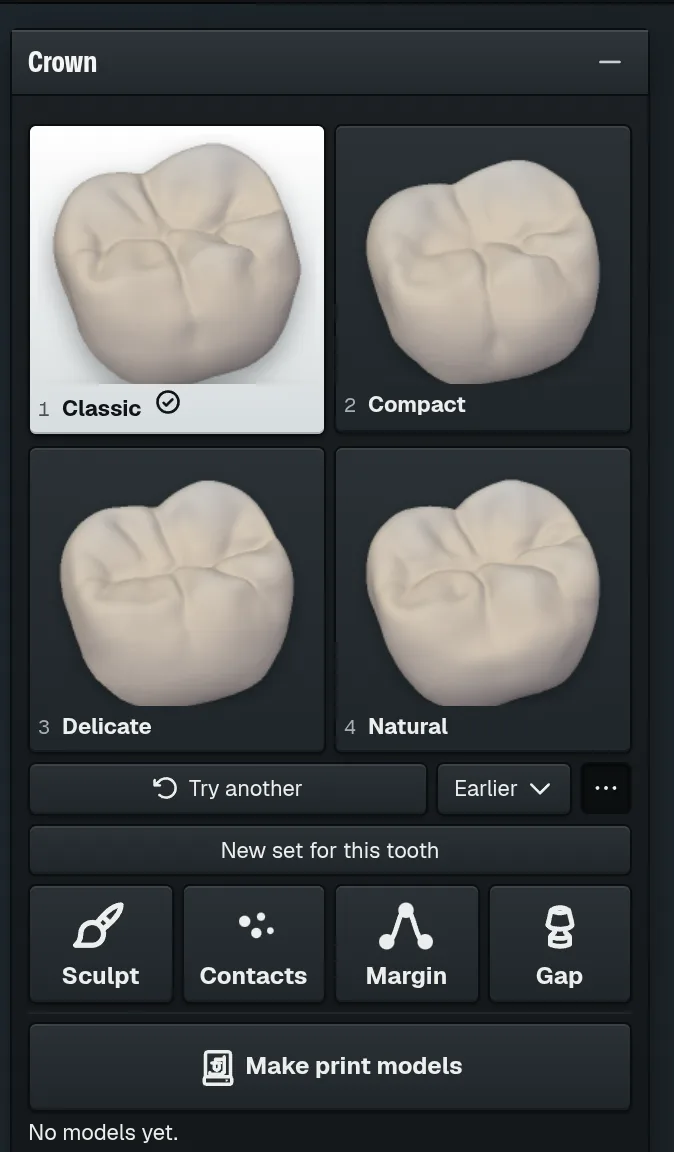
Crown form
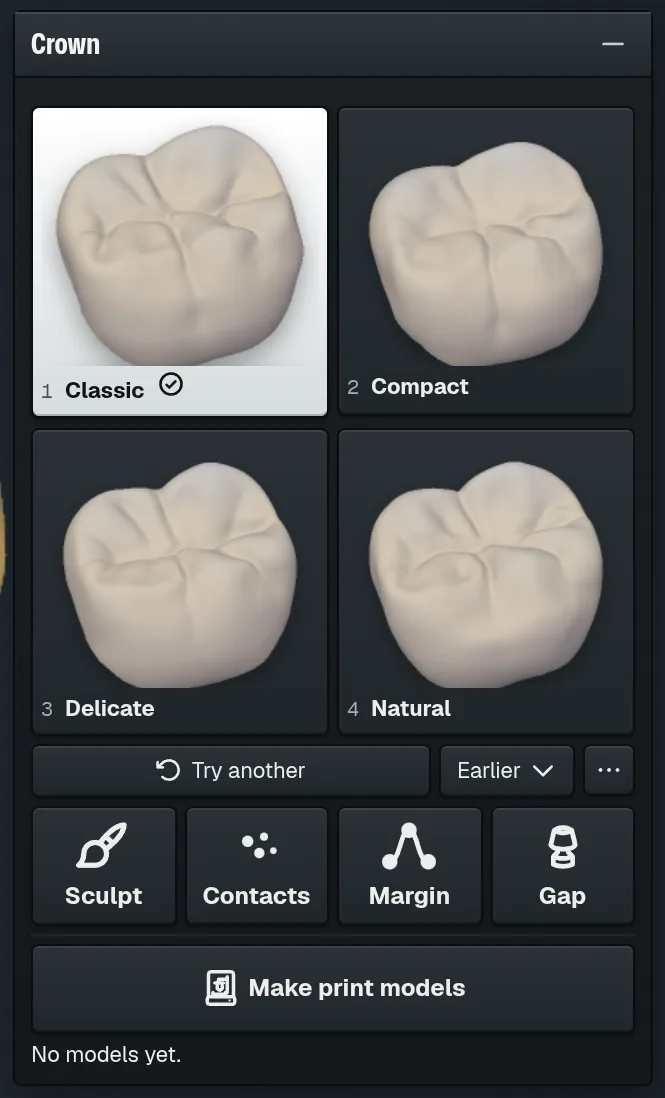
Choose the crown form
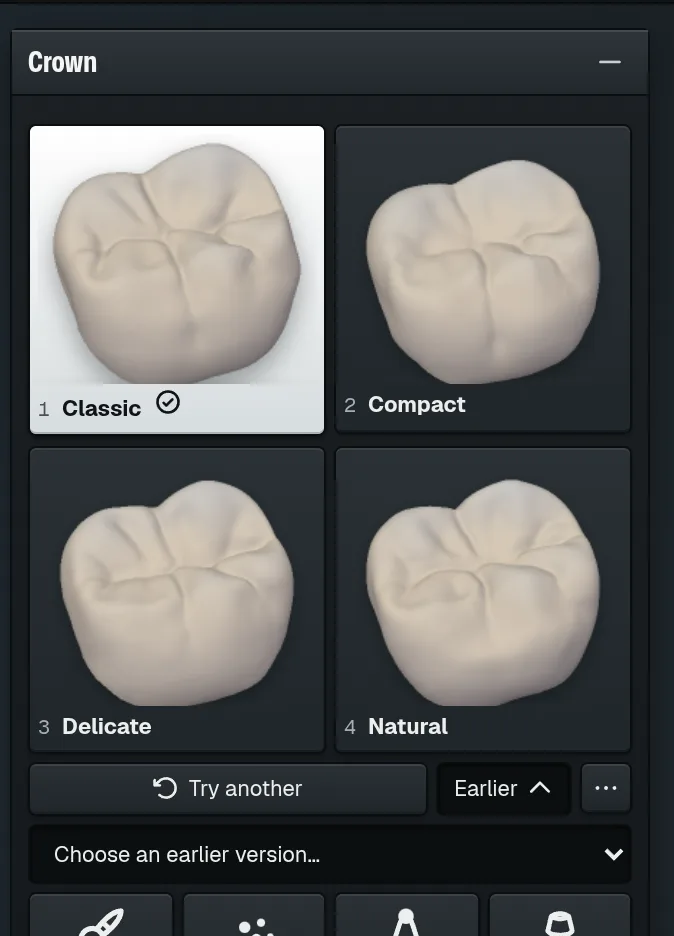
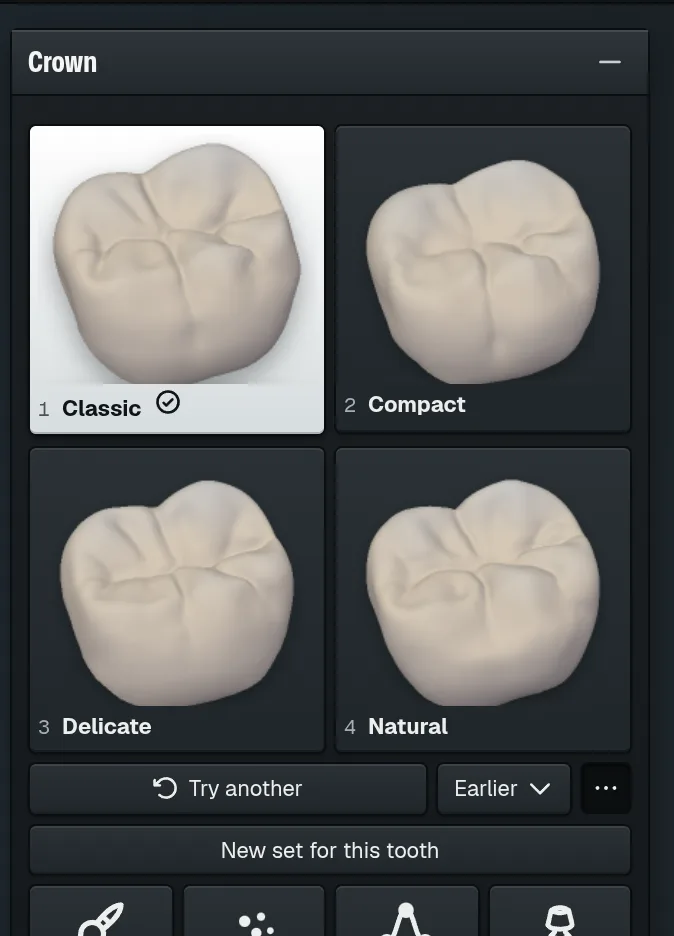
The program makes four forms, seats the first one and fits it to the bite. Click to compare.Go back to an earlier form
Each form keeps its earlier versions. Pick one to put it back on the tooth.Make a new set of forms
Not one of the four fits? Ask for four new forms for this tooth.
Inner surface
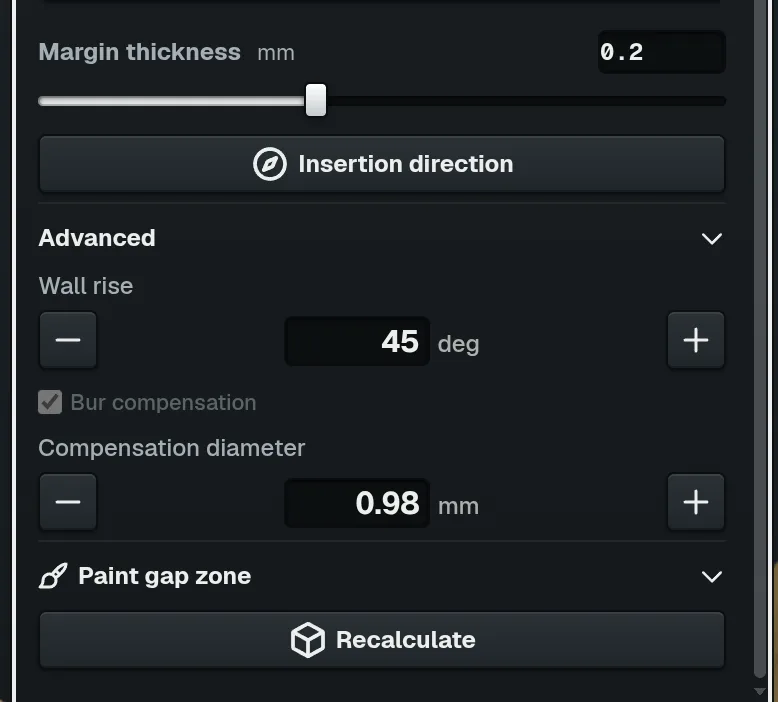
Set thickness and cement gap
Four numbers set the crown wall and the room inside. The crown refits when you let go.Set bur compensation and margin edge
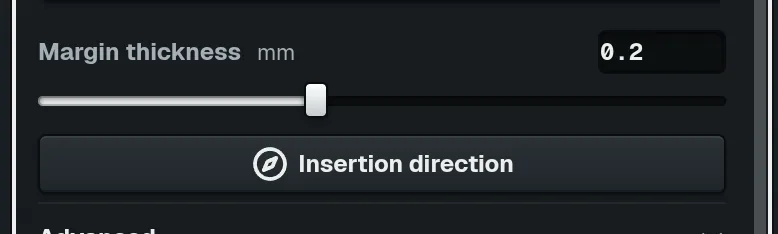
Set how thick the crown ends at the margin and how the inside allows for the mill's bur.Check the insertion direction
The arrow shows how the crown slides onto the tooth. A green message means the whole margin is reachable.Find thin walls
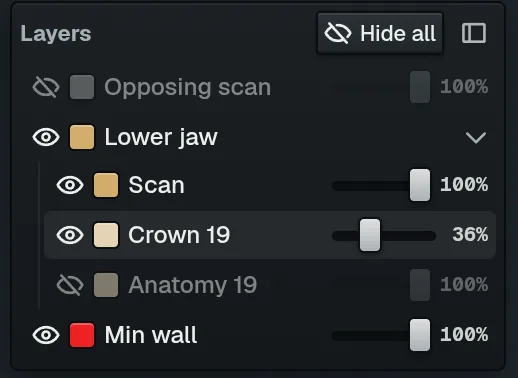
Red on the crown surface marks a wall thinner than the minimum thickness.Add room in one area
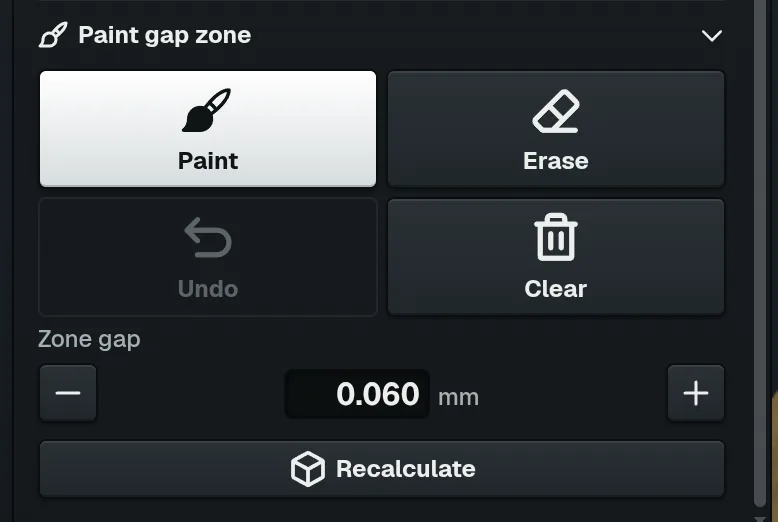
Paint an area on the prepared tooth and give it its own cement gap.
Shape the crown
Contacts and bite
Check and fit the contacts
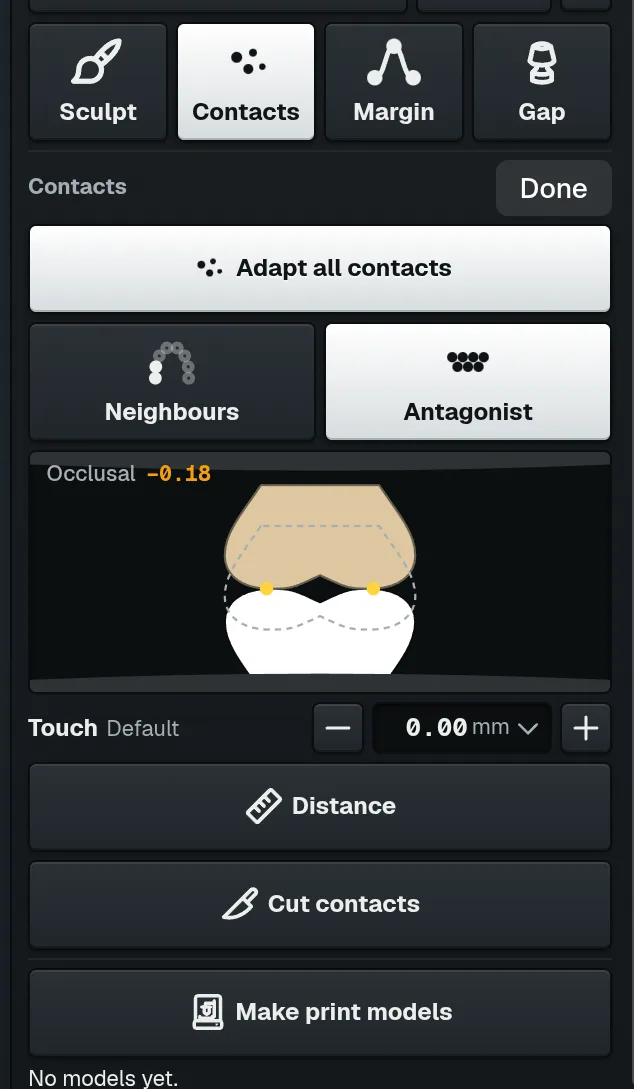
Colours show where the crown presses in. One press fits it to the bite and neighbours.Check the bite inside a crown case
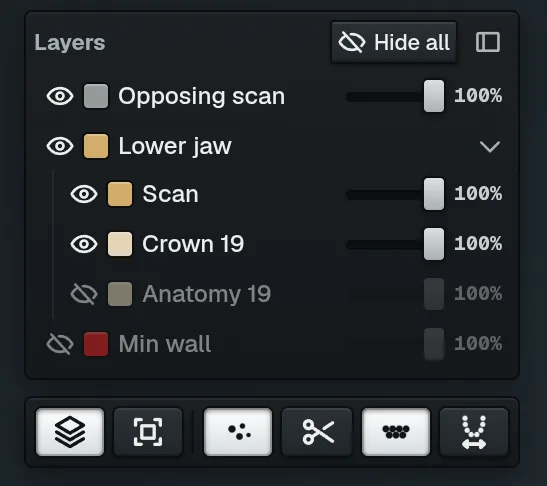
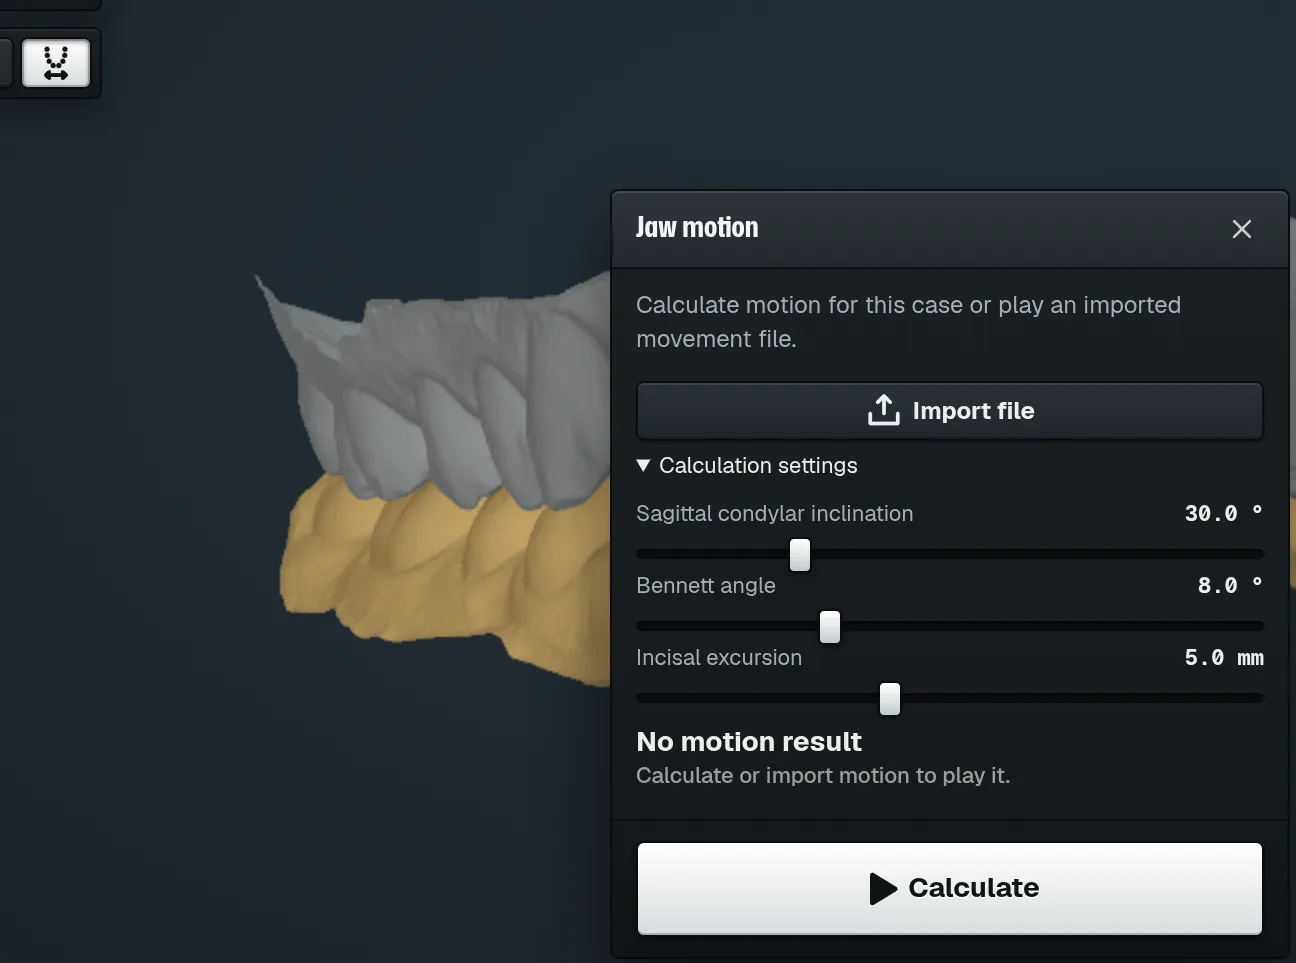
Align the opposing arch again from the Bite window when the bite check could not finish.Check the crown in jaw motion
Calculate the jaw movements for this case and play them with the crown in place.
Export and print models
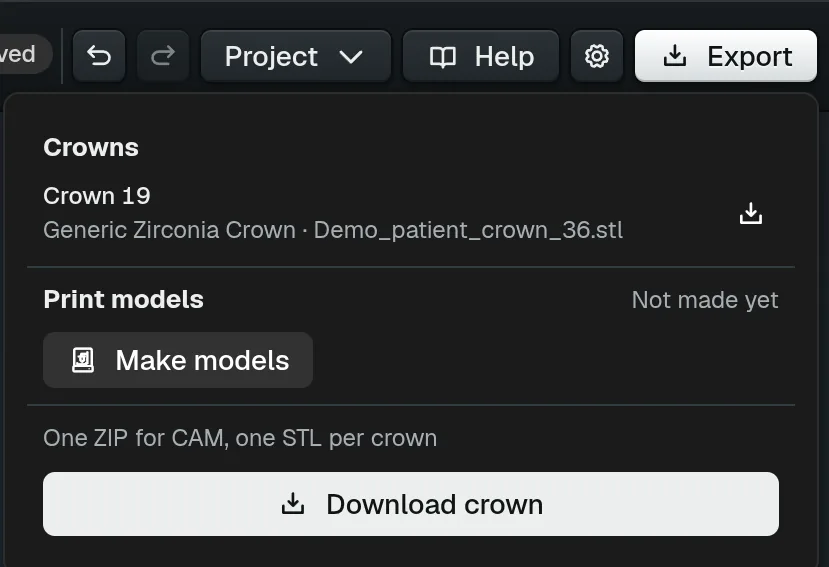
Download the crown
The Export sheet saves the crown as one ZIP for your CAM software.Make print models
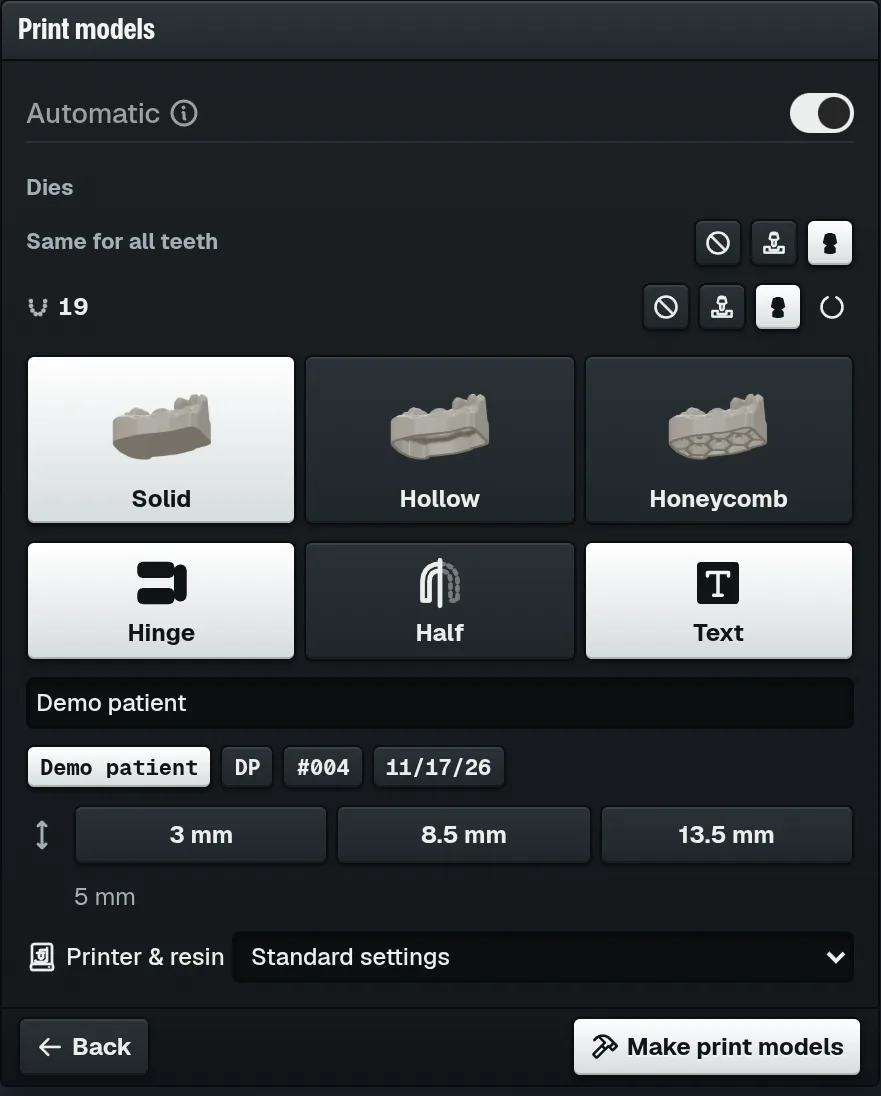
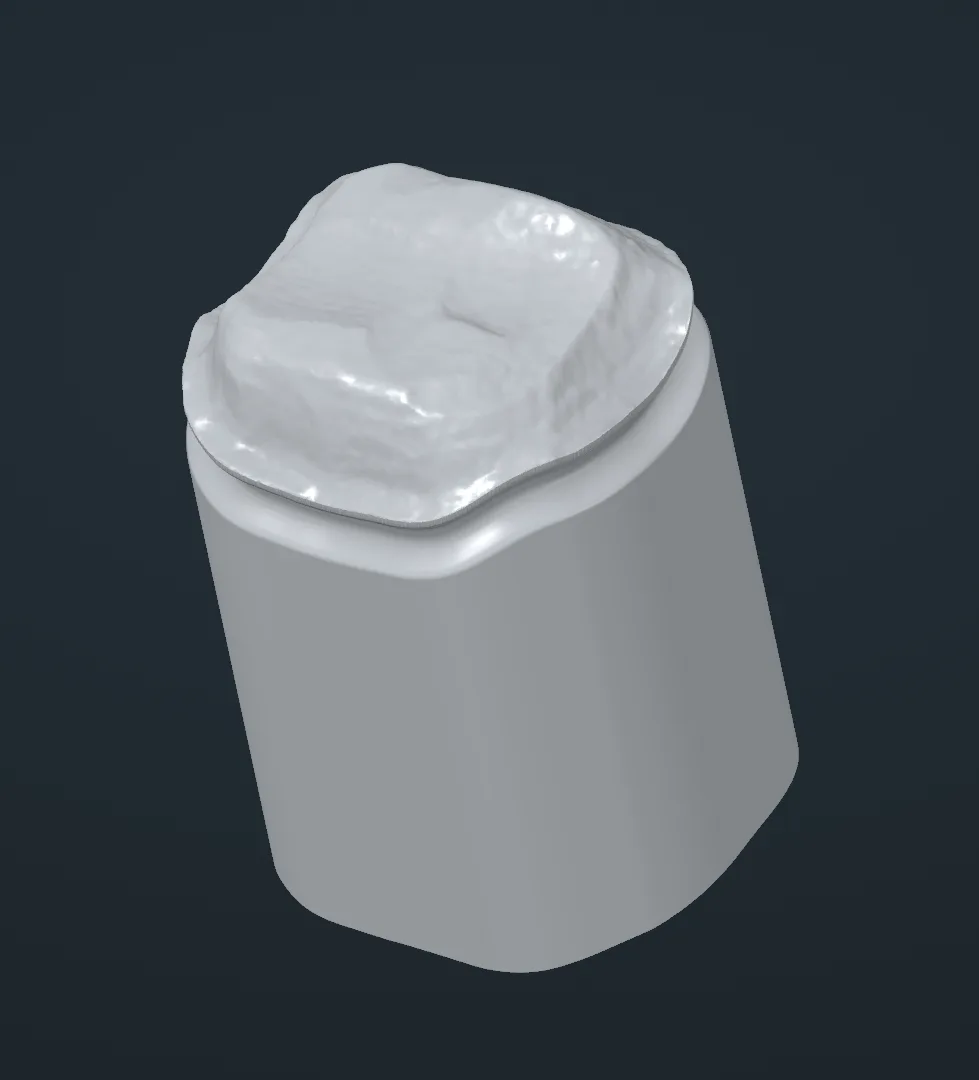
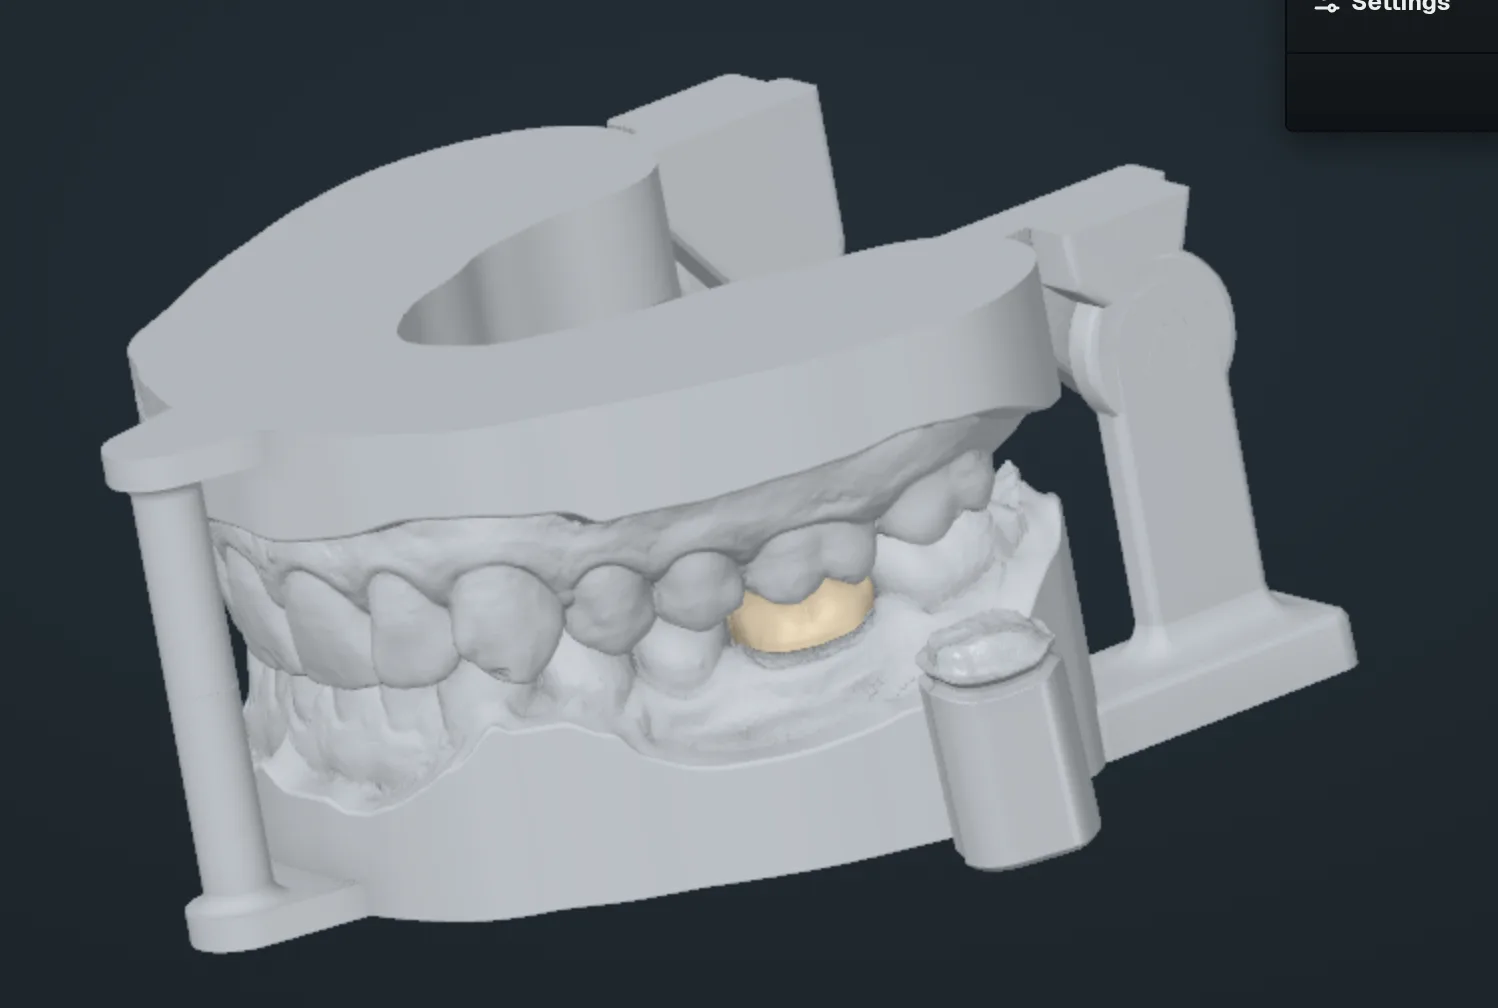
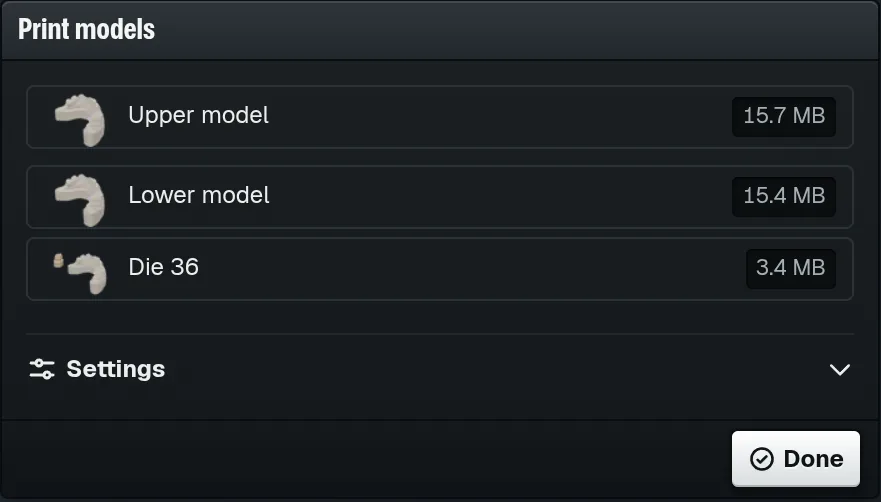
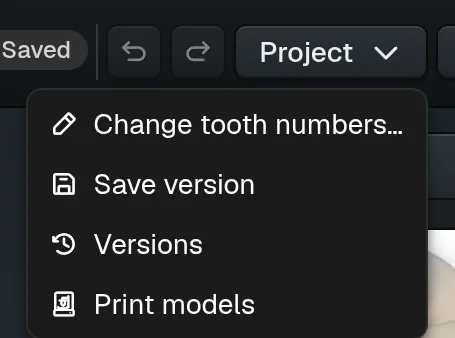
Models and dies from the crown case in one press. The settings start filled in.Print models with a loose die
A solid arch keeps the contacts; the loose die shows the margin clear.Add a printed hinge
A hinge printed with the models joins the upper and lower model at the back.Download and print the models
The models are kept in the case. Download them from the Export sheet and print.Save and go back to a version
Save a version before a big change. Restore brings the design back to that point.
Scans
Add, replace or remove a scan
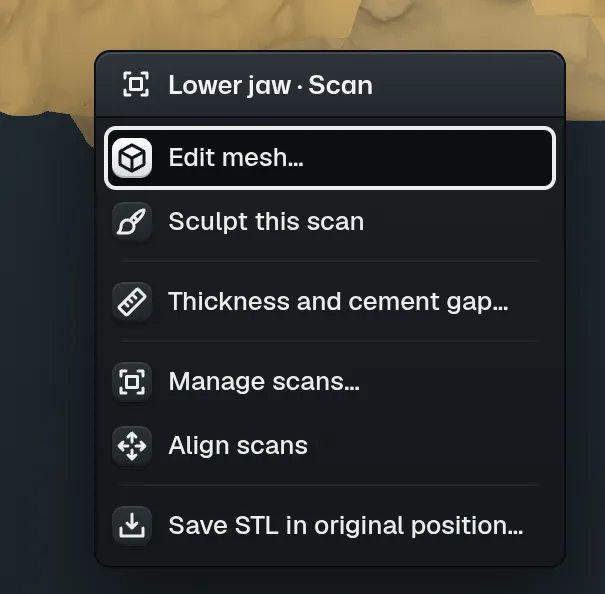
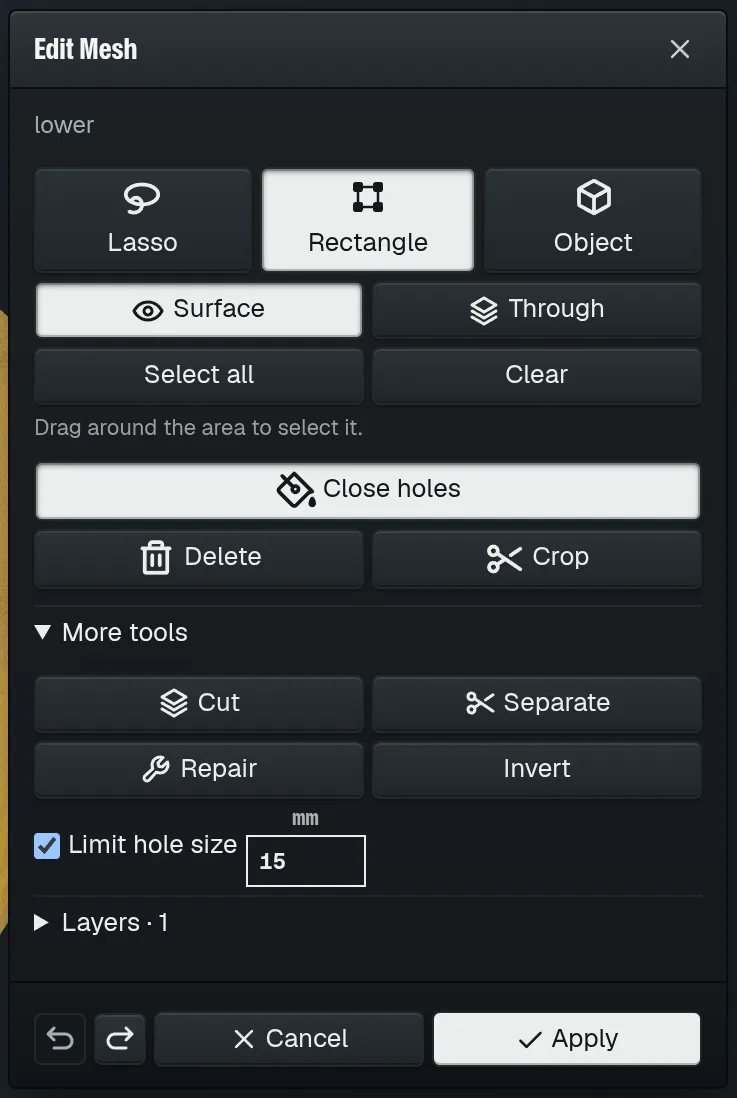
Swap a scan file, add a pre-op scan or drop the opposing scan in one window.Delete or crop part of a scan
Mark an area on the scan, then delete it or keep only it.Close holes and repair a scan
Fill gaps inside the scan and clean up broken faces before you design.Sculpt a scan
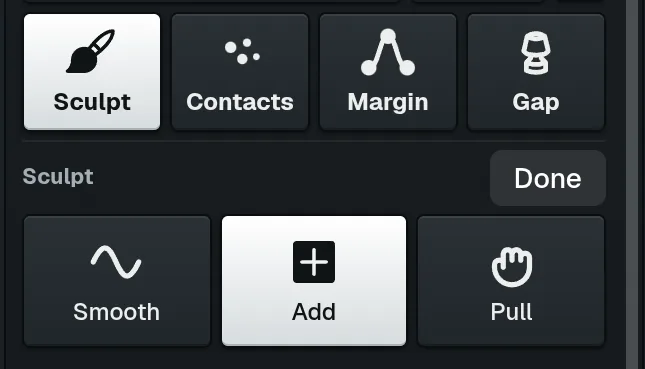
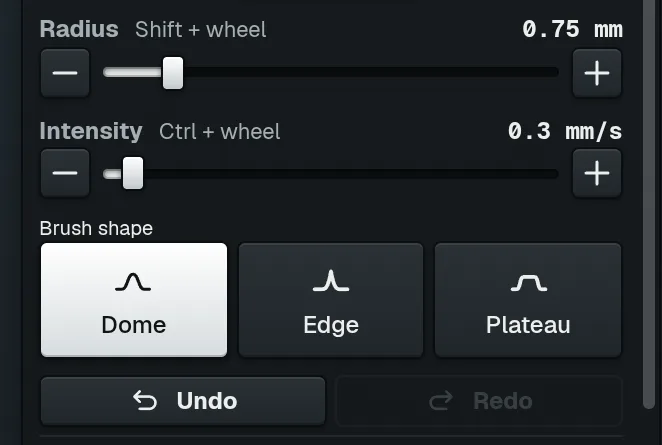
Smooth or build up a spot on the working or opposing scan.